We have been experiencing quite the heat wave here the last few weeks! School has finally let out and the girls are eager to start our summer vacation in the city.
For the most part, we’ve been keeping the schedule simple: a good breakfast, some water colour painting for J and R while I prepare the lunch we will bring with us on our outing, and then a visit to one of our local parks and wading pool/ splash pad. We go home early afternoon, run some errands and then have some down time to sleep, or do quiet activities or chores around the house. Late afternoon is usually reserved for gardening or sprinkler fun for the girls, then a bit of free play (these days it’s dress up and/ pretend grocery shopping) while I prepare dinner.
Speaking of gardening, we have finally set up our fairy garden. I mentioned in an earlier post back in February (when the weather fooled us into believing spring had begun and was there to stay!) that we had grand plans for a garden that the girls could call their very own, complete with their own garden fairies.
How to make a fairy garden:
Materials:
– nice dark topsoil or potting soil
– medium to large sized whiskey barrel/ planter/ container
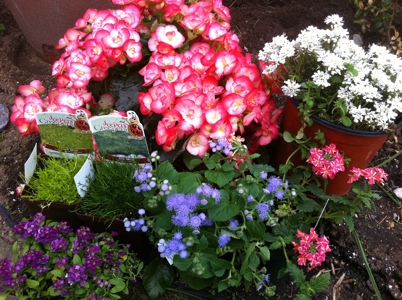
– 2-3 small budded annuals/ perennials
– Scottish or Irish moss
– small vessel for water/pond
– some pebbles/ small rocks
– miniature figurines or DIY felt fairies/ gnomes etc.
– miniature furniture
Directions:
– together with your kids, sketch a plan of how you would like your fairy garden to look like. Include type and colour of flowers/plants, fairy house, pond, pathway, furniture, figurines, etc.
– choose a suitable location for the fairy garden where it will get enough sunlight and shade if necessary, as well as be easy for the children to play and for all of you to access with a watering can or hose.
– Make sure there is a hole at the bottom before you fill the barrel for proper drainage. For better water drainage and soil aeration you can also put a layer of gravel or small rocks on the bottom of planter as well.
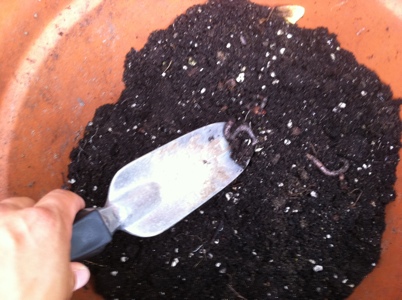
– fill barrel/ planter up to 2/3 level with soil.
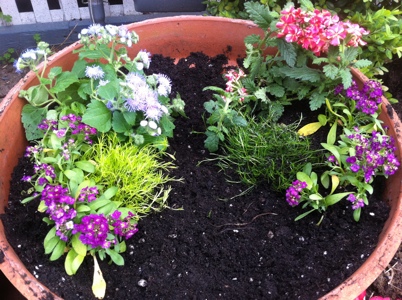
– plant chosen flowers/ plants/ moss according to your sketch.
– include the figurines and any other accessories.
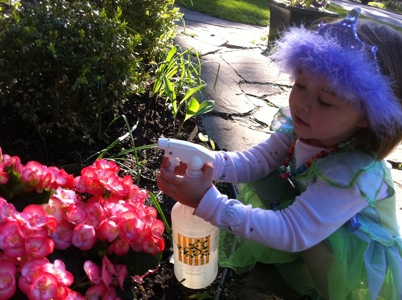
– water and prune accordingly, play daily!
For more info please visit Donni Weber’s the Magic Onions blog:
http://themagiconions.blogspot.ca/
Donni has some great tips and even a fairy garden contest you can enter to win some great prizes!
We are also really quite taken with this amazing natural parenting and toystore that is run by a local mompreneur and friend: http://www.avasappletree.ca/
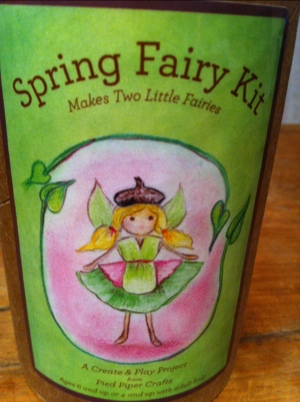
Ava’s Appletree has some really great products and was where we purchased our fairy house and fairy kit. You can easily create two beautiful felted fairies with the kit.
Here are a few pictures of our little fairy garden so you can get an idea of how to make your own. Our fairy garden is of course still a work in progress but we are quite pleased with it so far!
Note: We now have a little house and a pond and pathway (will add photos of this in future) but alas I waited too long to take a picture of the completed project so the plants have overgrown somewhat and hidden the pathway and fairy house so some pruning needs to be done first!

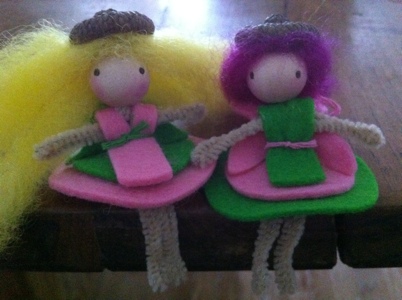
Just wonderful! I bet I know whose fairy has the purple hair!!
Hello Julie! Thank you!! Surprisingly, it was J who got to claim the fairy with the purple hair! I think R thought the one with the yellow hair resembled her more. Hope the weather is treating you and your garden well over there!