Kids’ Summertime Fun with Inukshuks and Rock Art


Sunday afternoon turned out to be the perfect day to spend doing an indoor activity with the girls. The rain finally came down in thick sheets after weeks of a heat wave and dry spell.

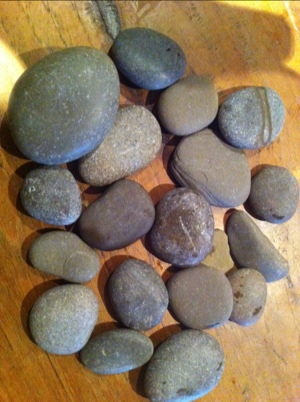
With our bag full of rocks which we recently collected at our local ‘Cherry Beach’, we decided to create our very own miniature Inukshuks (also known as Inuksuk and Inuksuit (pl.) by the Nunavut and Government of Canada through Indian and Northern Affairs Canada).  To be culturally respectful, I will refer to them as Inuksuk (singular) and Inuksuit (plural) from here on in.

According to Wikipedia, http://en.wikipedia.org/wiki/Inuksuk, an inukshuk, for those who are not already familiar is a:

‘..stone landmark or cairn built by humans… used by the Inuit…. and other people fo the Artic regions of North America for [the purposes] of navigation, as a point of reference, a marker for travel routes, fishing places, camps, hunting grounds, places of veneration, drift fences used in hunting or as a food cache… The word inuksuk means “something which acts for or performs the function of a person”. ‘

For more intorductory info on the Inuit usage of Inukshuks/Inuksuit, you can check out: http://en.wikipedia.org/wiki/Inuksuk as well as http://www.inukshukgallery.com/inukshuk.html.

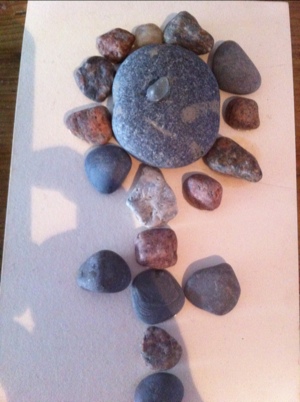
J’s kindergarten teacher introduced her class to the ‘Inukshuk’ and other rock art in the last few days of school, after they had gone to the beach for some fun in the sun and sand. Here is a piece of J’s personal rock art that she created with some of the collected rocks.

20120716-102137.jpg

Unfortunately, we missed the original ‘Inukshuk’ building activity as we were returning from a camping trip in Killbear (more on this later!) with the family around that time. However, we did happen to see a lot of examples of ‘Inukshuks’ along the driving route, and were eager to make our own when we returned.

Here are some examples of Inunnguat (pl.) or Inunnguag (sing.), which is essentially a rock sculpture depicting a human figure and that is commonly mistaken as an ‘Inukshuk’:

Inukshuk, 95. Photo credit: www.cbantlerart.com


Inukshuk – Kuujjuaraapik January, Inuksuk in the vicinity of Kuujjuarapik, Canada. Photo credit: Nicolas M. Perrault

Before we started creating our own ‘Inukshuks’, I was not aware of all the potential types of rock sculptures that are often misrepresented as Inuksuit (e.g. the Inunnguat pictured above). For a more complete appreciation of Inuit rock creations that the Inuit of North America have created and used as markers for thousands of years and what the Inukshuks are, you can watch this short clip by Peter Irniq, an Inuit cultural activist, which explains the meaning of an Inukshuk in What is an Inukshuk here: : http://www.youtube.com/watch?v=NKQ97rOwBH0&feature=related 


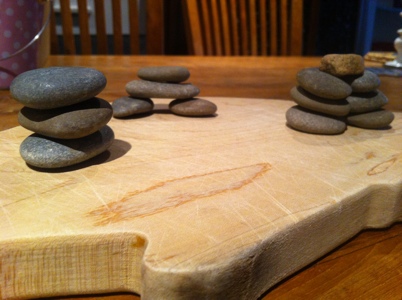
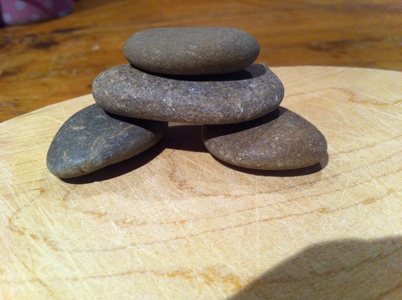
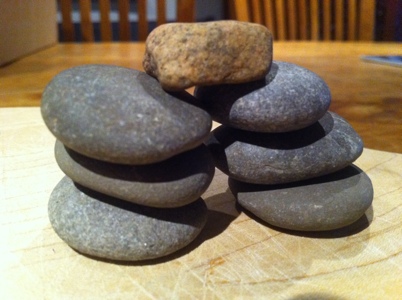
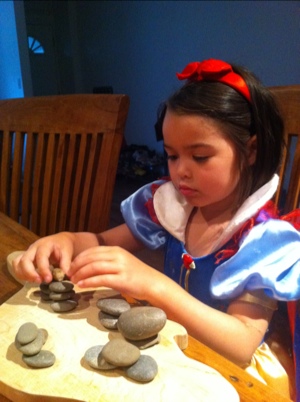
Here are some photos of the miniature Inuksuit we created:

20120716-102327.jpg

20120716-102418.jpg

20120716-102429.jpg

20120716-102437.jpg

20120716-102457.jpg

20120716-102507.jpg

If you’re looking for some inspiration on how to build your own Inuksuit , I also found this clip 2010 – How to build an Inukshuk (@hofstadlyceum.nl) quite enjoyable to watch:  http://www.youtube.com/watch?v=cf25KoI6CnY&feature=related

Happy Inuksuk building!

“You are on the right path.” (Traditional meaning of Inuksuk.)


Magical Fairy Dust to Brighten Your Days: A Fairy Garden, Part 2


We have been experiencing quite the heat wave here the last few weeks! School has finally let out and the girls are eager to start our summer vacation in the city.

For the most part, we’ve been keeping the schedule simple: a good breakfast, some water colour painting for J and R while I prepare the lunch we will bring with us on our outing, and then a visit to one of our local parks and wading pool/ splash pad. We go home early afternoon, run some errands and then have some down time to sleep, or do quiet activities or chores around the house. Late afternoon is usually reserved for gardening or sprinkler fun for the girls, then a bit of free play (these days it’s dress up and/ pretend grocery shopping) while I prepare dinner.

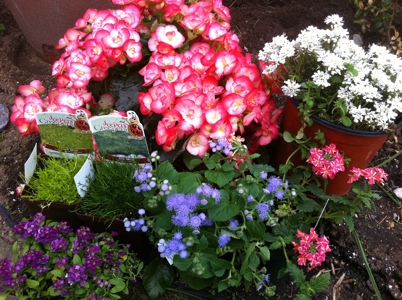
Speaking of gardening, we have finally set up our fairy garden. I mentioned in an earlier post back in February (when the weather fooled us into believing spring had begun and was there to stay!) that we had grand plans for a garden that the girls could call their very own, complete with their own garden fairies.

How to make a fairy garden:

Materials:
– nice dark topsoil or potting soil
– medium to large sized whiskey barrel/ planter/ container
– 2-3 small budded annuals/ perennials
– Scottish or Irish moss
– small vessel for water/pond
– some pebbles/ small rocks
– miniature figurines or DIY felt fairies/ gnomes etc.
– miniature furniture

Directions:
– together with your kids, sketch a plan of how you would like your fairy garden to look like. Include type and colour of flowers/plants, fairy house, pond, pathway, furniture, figurines, etc.
– choose a suitable location for the fairy garden where it will get enough sunlight and shade if necessary, as well as be easy for the children to play and for all of you to access with a watering can or hose.
– Make sure there is a hole at the bottom before you fill the barrel for proper drainage. For better water drainage and soil aeration you can also put a layer of gravel or small rocks on the bottom of planter as well.
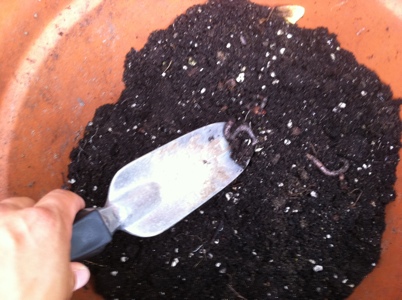
– fill barrel/ planter up to 2/3 level with soil.
– plant chosen flowers/ plants/ moss according to your sketch.
– include the figurines and any other accessories.
– water and prune accordingly, play daily!

For more info please visit Donni Weber’s the Magic Onions blog:

http://themagiconions.blogspot.ca/

Donni has some great tips and even a fairy garden contest you can enter to win some great prizes!

We are also really quite taken with this amazing natural parenting and toystore that is run by a local mompreneur and friend: http://www.avasappletree.ca/

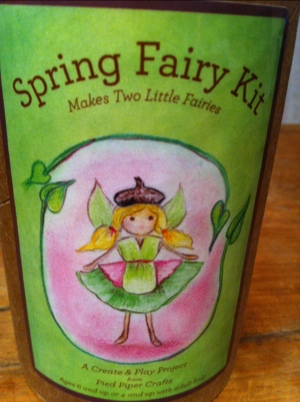
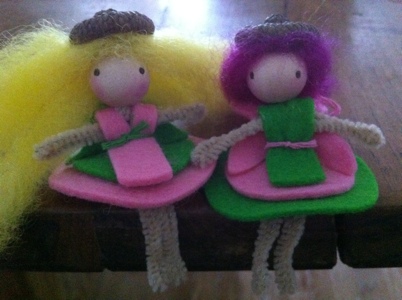
Ava’s Appletree has some really great products and was where we purchased our fairy house and fairy kit. You can easily create two beautiful felted fairies with the kit.  

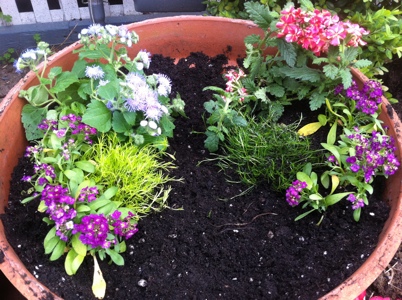
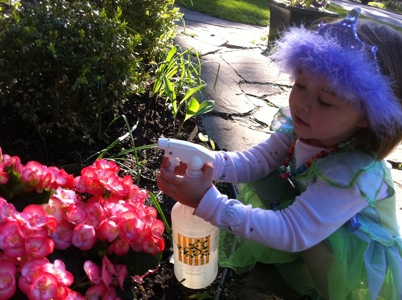
Here are a few pictures of our little fairy garden so you can get an idea of how to make your own. Our fairy garden is of course still a work in progress but we are quite pleased with it so far!

Note: We now have a little house and a pond and pathway (will add photos of this in future) but alas I waited too long to take a picture of the completed project so the plants have overgrown somewhat and hidden the pathway and fairy house so some pruning needs to be done first!

20120709-155030.jpg

20120709-155101.jpg

20120709-155134.jpg

20120709-155227.jpg

20120709-155330.jpg

20120709-155413.jpg