
Thought I would share this post again in honor of the start of Spring and in celebration of Easter.
(With a little one who just turned 8 months, I’ve been relying on simple arts and crafts for the older children such as water colour and wet-on-wet painting with a fresh spring colour scheme. We are reusing our beautifully natural-dyed eggs from the previous year and enjoying the rest of our time playing outdoors in this fantastic spring weather.)
Happy Easter!
…………………………..
It’s Easter Monday and we have had a beautiful long weekend with family. This year, we decided to celebrate rebirth and spring both indoors and out. We began with a trip to our local farm, Riverdale Farm, where children and adults alike can enjoy the daily activities of the animals and their caretakers. My older daughter is enrolled in a wonderful program there called, Little Farmers, where the kids learn about each of the different types of farm animals each week. This week the focus was fittingly on chickens and eggs.

In keeping with the chicken and egg theme for Easter, we decided to naturally dye our hollow Easter eggs.
To do this you will need:
-8-12 eggs
-skewer sticks
-4-8 toothpicks
-8-12 strands of approximately 10-12cm length twine/ thin string
-15 yellow (Spanish) onion skins
-2 tbsp white vinegar
-pot of water
Directions:
Peel the outer skins of 15 yellow onions. Place in medium saucepan with 4 cups of water and 2 tbsp of white vinegar.
(At this point if you choose to dye hard boiled eggs that are red in colour, you can insert whole eggs into water as well.)
Bring pot to a boil then simmer for 20 minutes. (For those using hard boiled eggs, remove eggs at different intervals following this to achieve variation in desired colour.) Use a sif to separate onion skins from natural onion dye.
For those wishing to use hollow dyed eggs which you can later attach to string on branches for decoration follow these additional steps:
While waiting for pot to boil, you can remove egg yolk and whites from your eggs, by puncturing top and bottom of eggs carefully with tip of sharp knife. Make sure to make holes on bottom at least a 1/4 size of your smallest thumbnail.
Use skewer stick to push through hole on top and bottom of eggs and to puncture egg membrane.
Cover top hole on egg with mouth and blow the egg white and yolk out through bottom hole into medium sized bowl.
Do this for all the eggs. Rinse and store in egg carton.
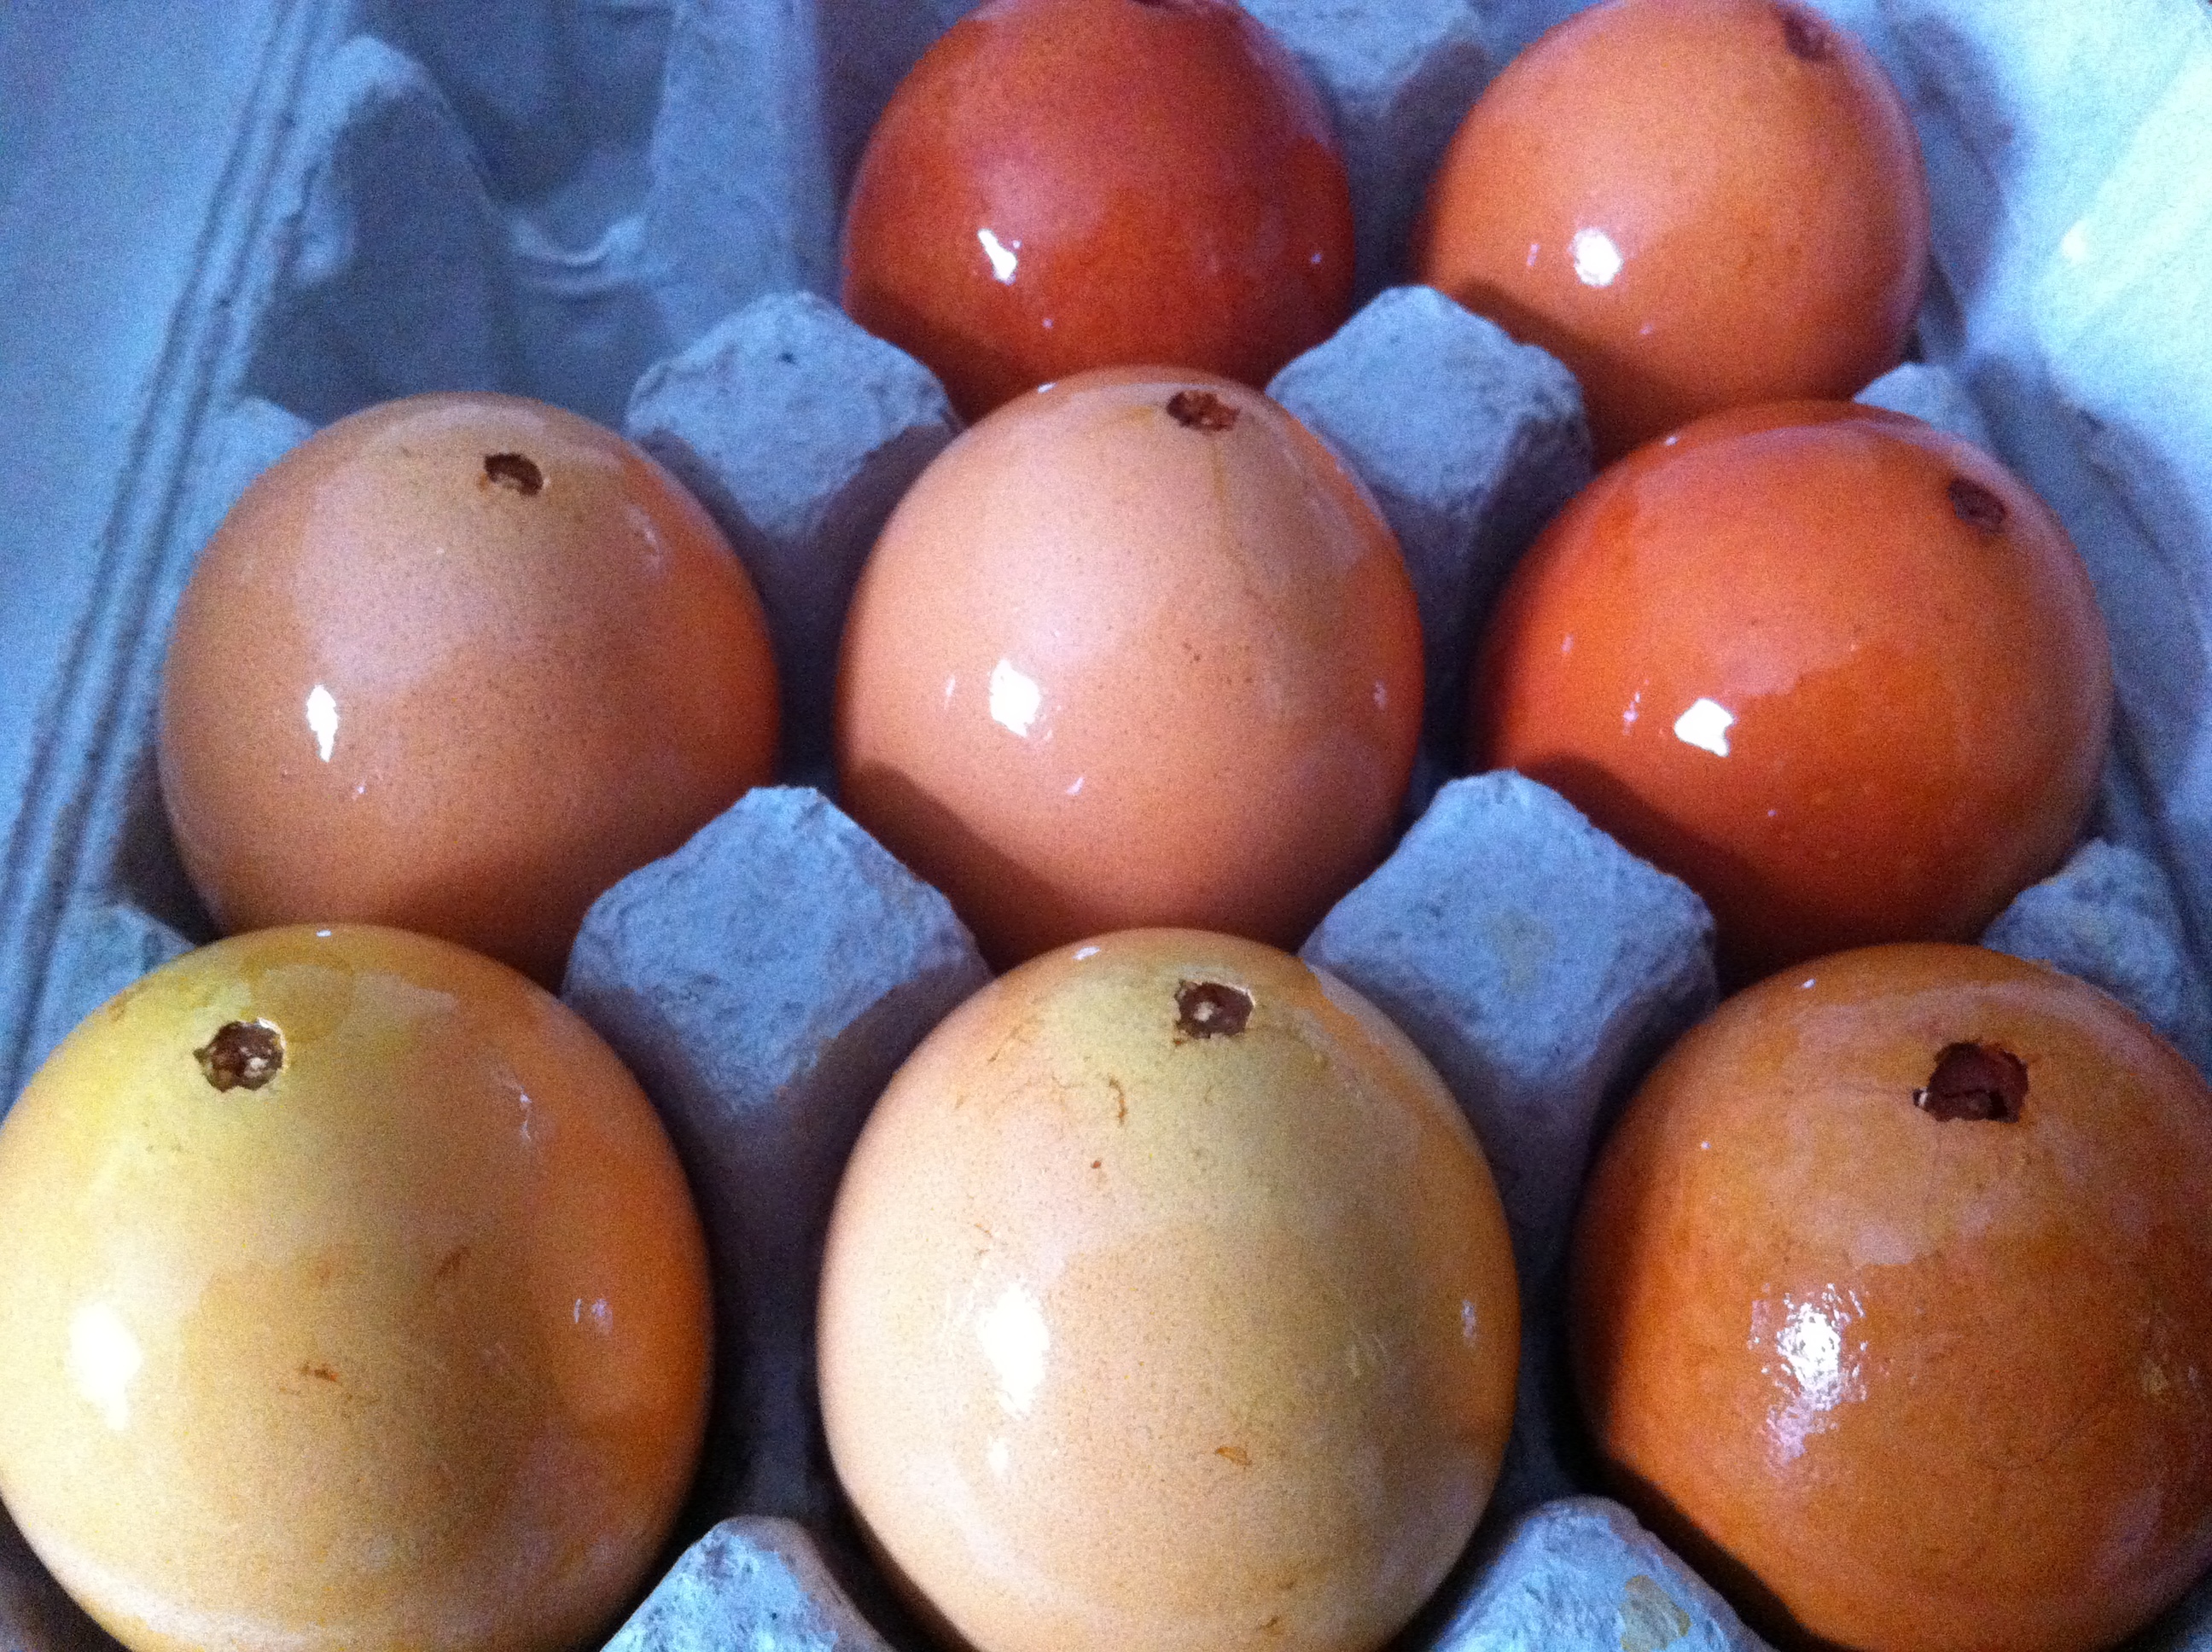
Dip hollow eggs into boiled onion dye and let dye sink in for up to 20 minutes. Remove at different intervals for achieving yellow, pink and red colour. For a stronger reddish brown dye, leave eggs in dye overnight in refrigerator.
For a more finished look, coat eggs in olive oil which gives them a nice sheen.
To display your hollowed-out natural dye eggs:
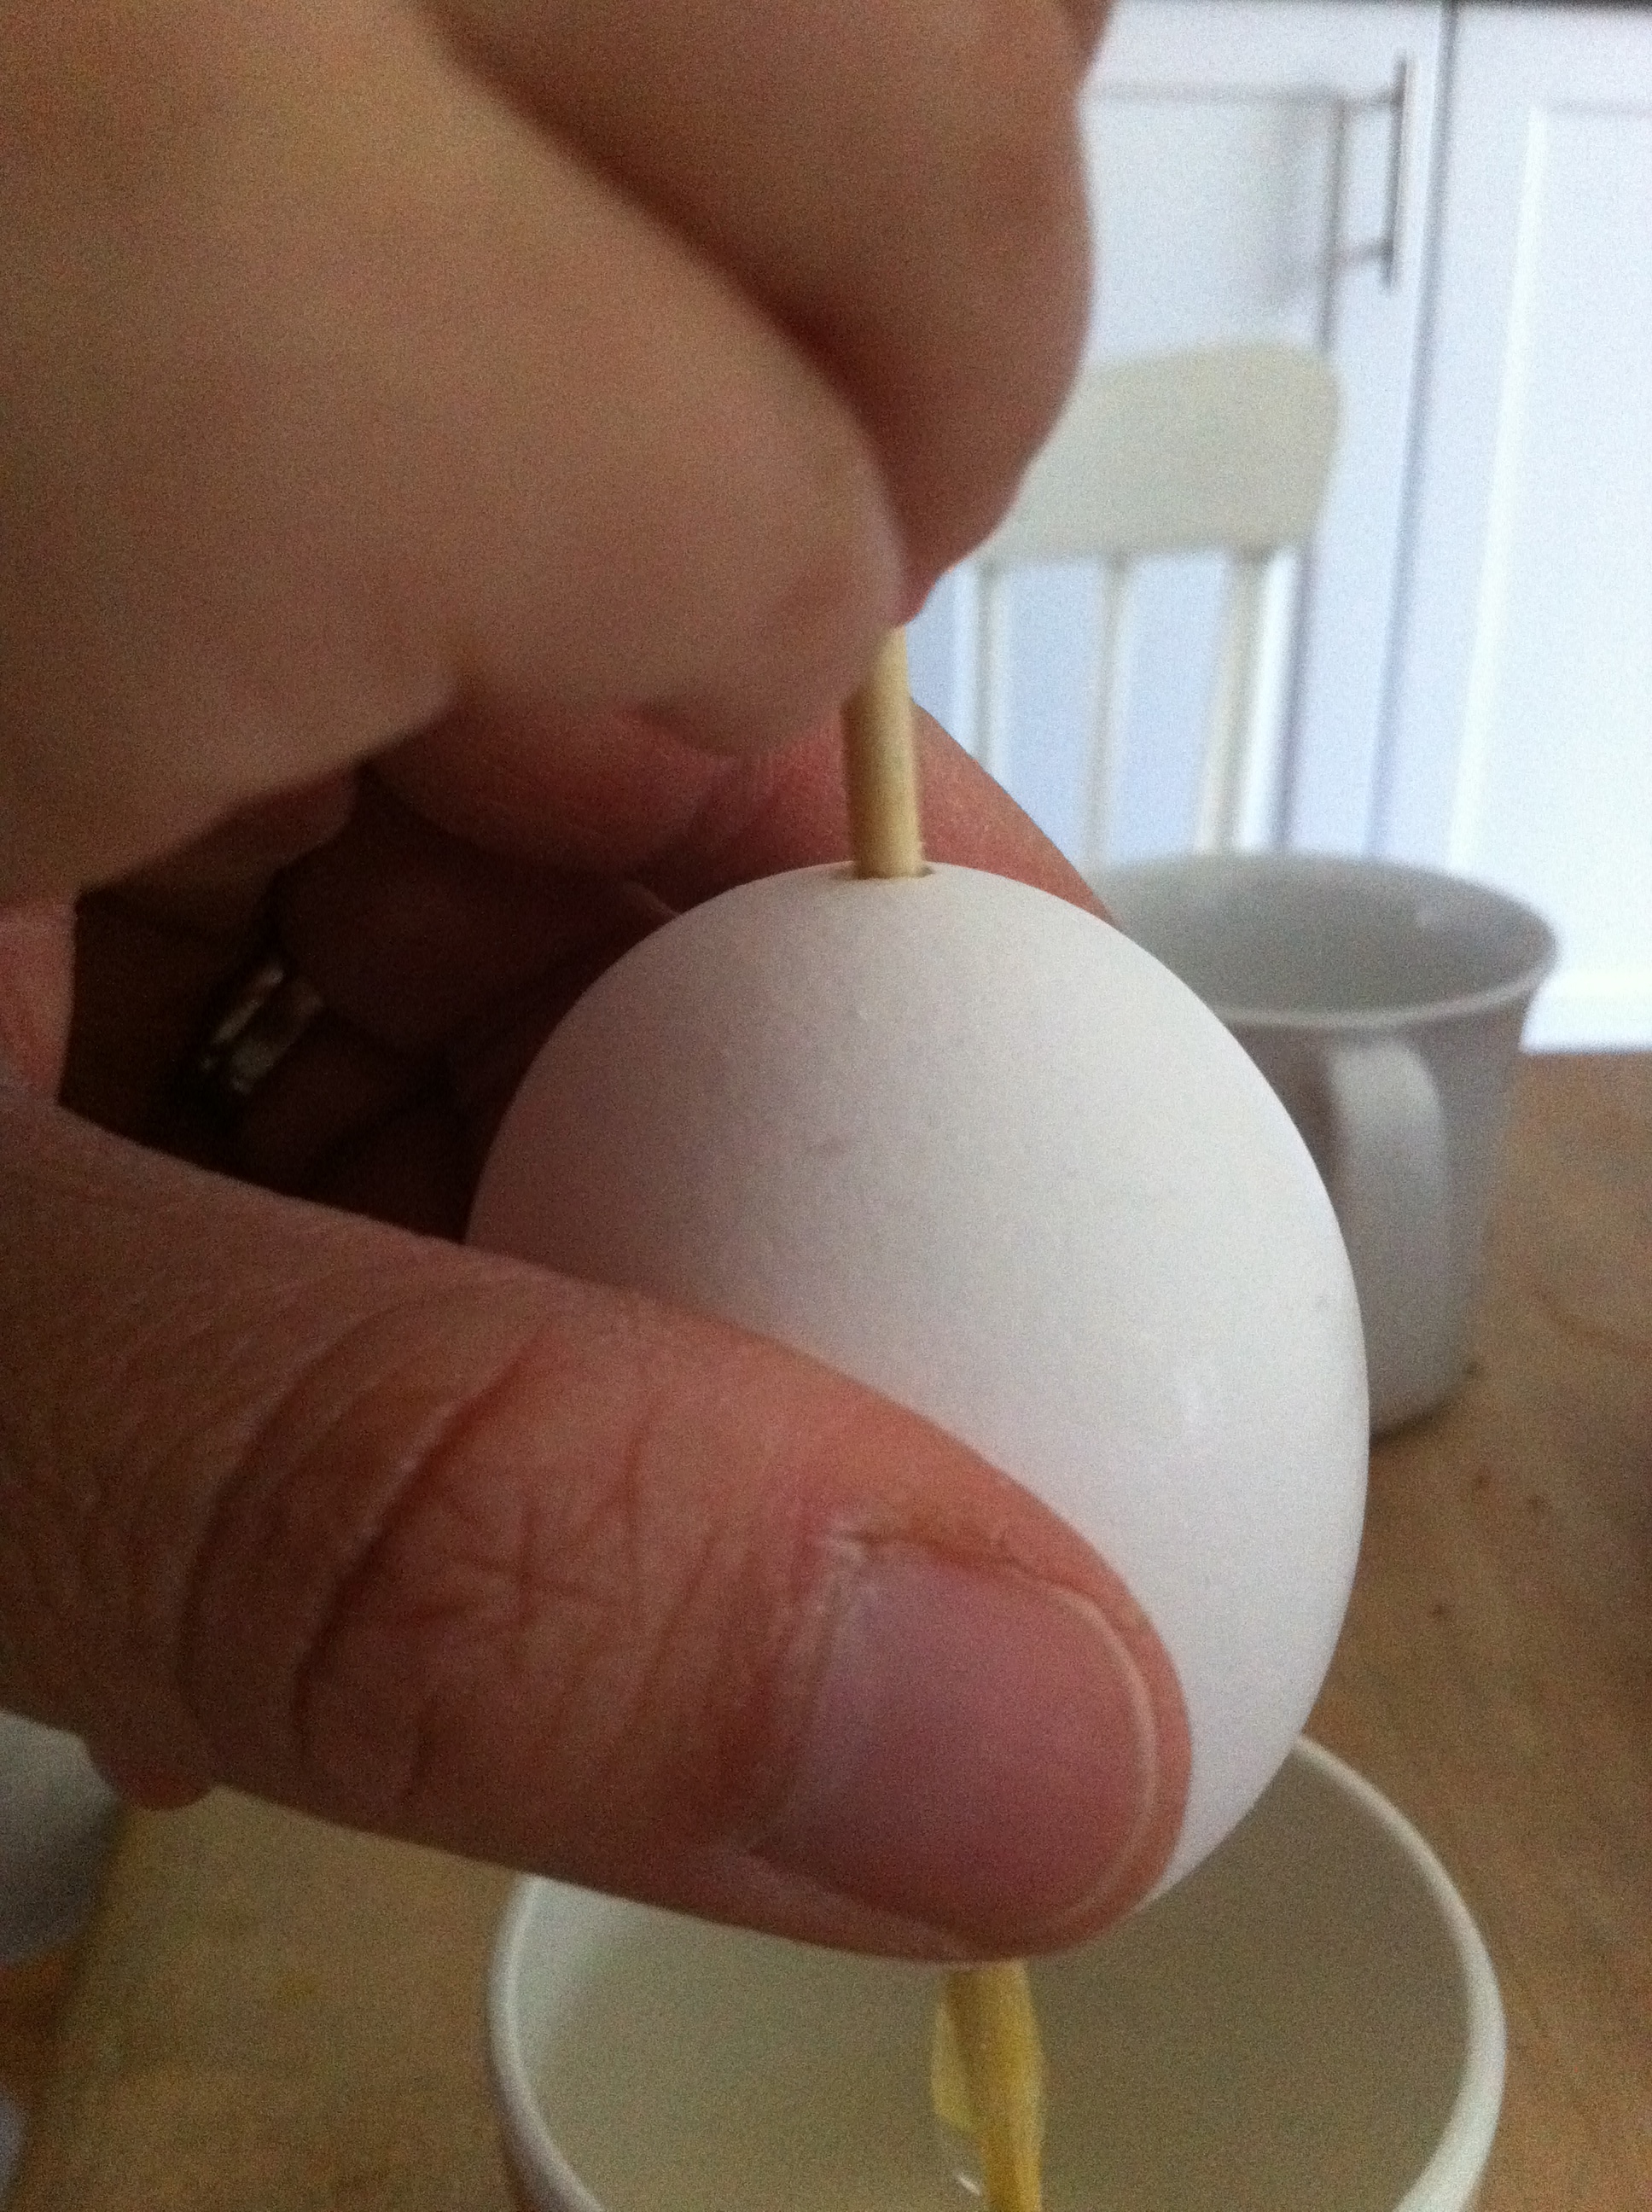
Tie a small knot on end of each string of twine and insert toothpick that has been cut to 1 cm length into knot before tying tightly once only. Thread end of string and toothpick vertically into top hole of egg shell until stick is fully inserted. Once in, the toothpick should fall into a horizontal position easily to hold string in place. You can also attach string through egg holes with clasps or tape. Tie string with attached egg onto branches such as forsythia or pussy willows in a vase for a beautiful indoor decoration. Or plant in plantar outdoors.
Enjoy!
Here’s what we did in pictures:


beautiful photo of your children beautiful.
Thank you, Mandy Jane! Hope you are enjoying your weekend!